
This week I want to show you how I created this:

This one is also really easy to do. I began with the $29.99 Ung Drill frame, which is basically a piece of black plastic--but it has a great shape. You could do this project with any thrift store frame.

I took out the glass and cardboard backing (save the cardboard--it's going to be the backing of your bulletin board.) I actually had some problem getting the glass out, but after I bent back the brackets holding it in place, I left it out in a cold space (my utility room) and by the next day the glass had contracted and came out easily.
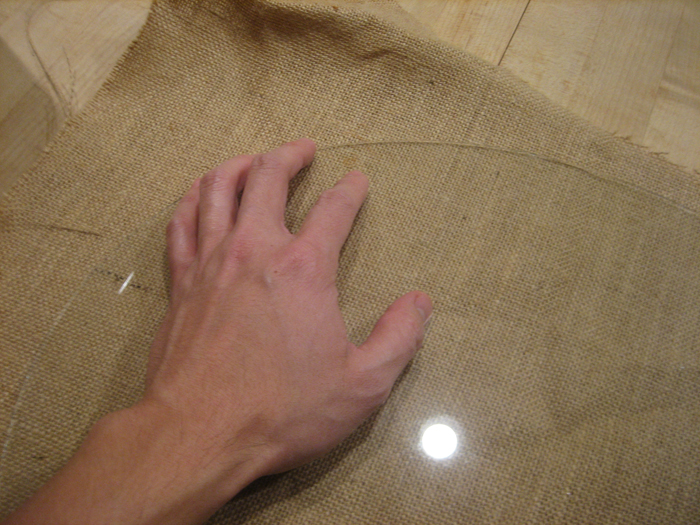
Next, I used some metallic spray paint (Krylon metallics in Bright Gold) and gave the black frame one really light coat. After it had dried for an hour or so, I distressed the edges of the frame with some fine-gauge steel wool so parts of the original black came through. Then I used the glass (you can also use the cardboard backing) as a template for cutting out the fabric and other materials.
For the fabric (I used jute from Cliff's Variety, but you could use canvas, linen, or any other fabric), be sure to leave at least an inch of extra material so you can wrap it around the backing.
Originally, I was going to use cork as the "soft" material under the fabric, but the price of cork tiles and rolled sheets was a LOT more expensive than I remembered...so I used something else I had lying around: quilt batting. I realize not everyone has this stuff in their home, but once again you could recycle other materials for this. Maybe a bunch of old t-shirts or even denim...the point is to get about half an inch of padding so your thumbtacks won't go through the cardboard backing.
This material should actually be cut to the exact same size as the backing.

I actually used four layers of this particular batting (also originally from Cliff's) to get half an inch.
After I put the batting on top of the cardboard and wrapped the jute around everything, I simply used good ol' Scotch masking tape to take the extra jute down. I know it seems...ghetto. But it honestly works well. One of my old teachers at FIDM taught us how to wrap and tape fabric samples for display boards and it all came down to regular masking tape.
The entire process was quick--kind of a fun rainy day project (yes, it was actually raining when I did this--hard to believe with the current heat wave we're having!) And the finished piece is something that really suited this young woman's apartment and newfound style.
2 comments:
This is amazing. You are amazing.
Possibly you are a genius.
Post a Comment